


Some useful and interesting techniques to get Samus through BSL in one piece.
THE WALL JUMP
The Wall Jump from Super Metroid returns, but it's heavily tweaked and unfortunately, not as useful in Fusion. However, it's still a technique not covered in the manual. Fusion's Wall Jump works basically the same as Super's: spin-jump towards a wall, and when Samus touches the wall, press and hold the opposite direction and press A to spring off it. The difference between Fusion's and Super's Wall Jump is that in Fusion, Samus is not as maneuverable in the air after springing off the wall, so she cannot make any vertical progress with one single wall. Instead, the Wall Jump is only useful when there are two walls very near each other, so that Samus can spring back and forth between both of them.

CHARGE BEAM SCREW ATTACK
Pretty much identical to the Super Metroid version, this is a technique that gives Samus a Screw Attack-type ability without actually having the Screw Attack item. All you need is the Charge Beam. Simply charge up your beam and hold down the B button while you spin-jump through an enemy. Once you hit an enemy with this attack, you'll lose the charge.
THE SHINESPARK
The Shinespark is the "super/charge jump" you do after running to full speed and pressing down on the D-pad to charge (first seen in Super Metroid). You can Shinespark horizontally, vertically or diagonally.
The trick with the Shinespark is revealed by watching the demos if you let the game sit at the title screen for a while. It shows that if you do a horizontal Shinespark into an angled floor (slope), Samus will land on her feet and continue running at full speed. This can be done repeatedly, as long as you have slopes to Shinespark into, allowing you to carry a Speed Booster charge to areas where there is no room to build up the speed.
SPECIAL NAVIGATION ROOM EVENT
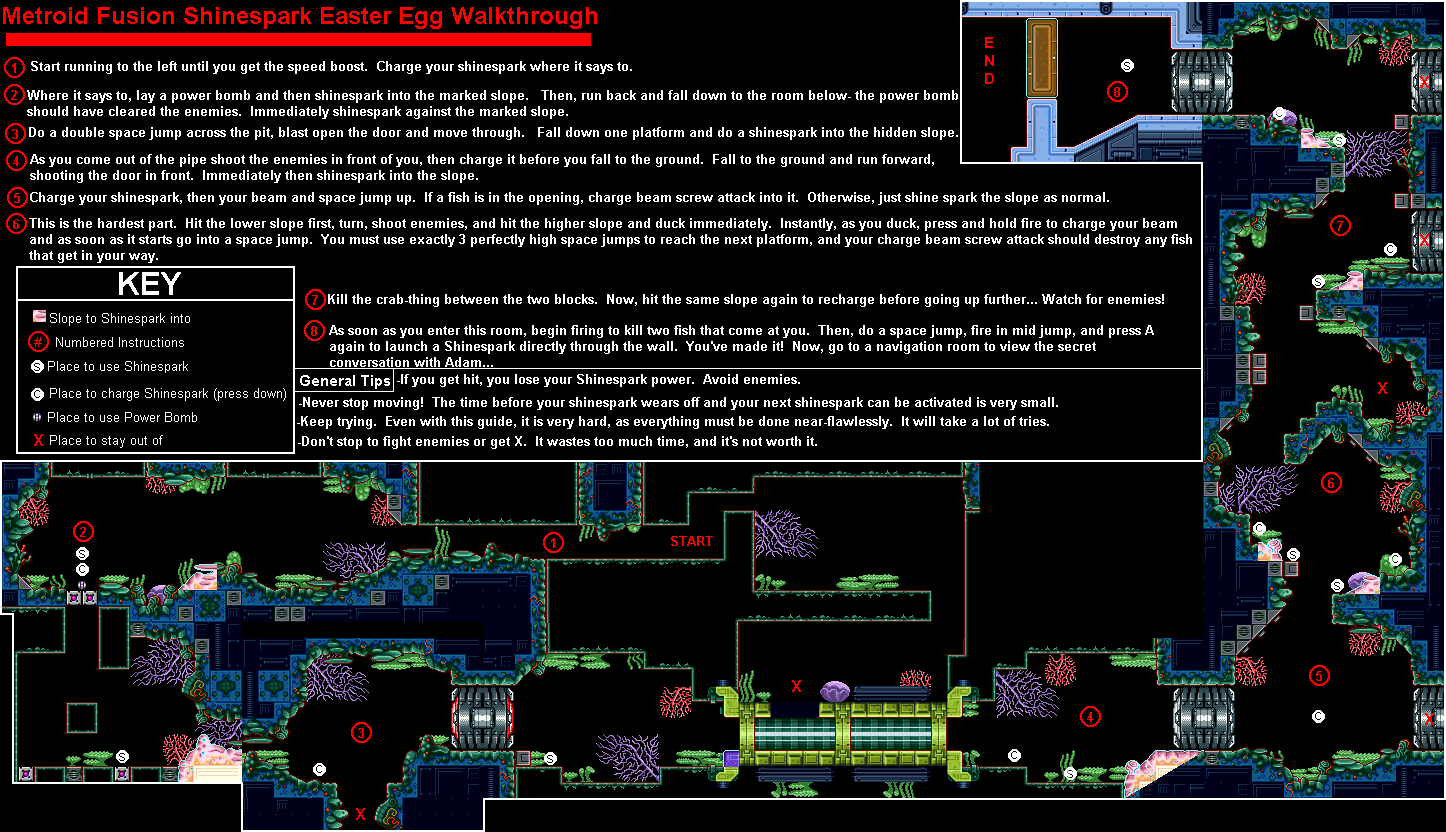
After defeating Nightmare and opening the level 4 (red) locks, you can experience a secret Nav Room event featuring Adam and the Federation officer. To do this, you'll need to use a complicated series of Shinespark tricks in Sector 4 to bypass the Data Room with the Diffusion Missile upgrade.
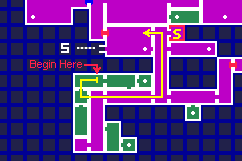 From the room where you opened the level 4 locks, head up the nearest long
horizontal purple room and go through the ceiling into the green rooms on
the map. Move to the part where the ground is suitable for running, then
dash to the left and press down to charge your Shinespark as soon as you
can. Quickly drop a Power Bomb and Shinespark to the right while it is
exploding. You will hit the slope and start running. Immediately press
down to charge and run back to the left and drop through the hole. The
Power Bomb should have cleared out the enemies and opened the door in the
room below.
From the room where you opened the level 4 locks, head up the nearest long
horizontal purple room and go through the ceiling into the green rooms on
the map. Move to the part where the ground is suitable for running, then
dash to the left and press down to charge your Shinespark as soon as you
can. Quickly drop a Power Bomb and Shinespark to the right while it is
exploding. You will hit the slope and start running. Immediately press
down to charge and run back to the left and drop through the hole. The
Power Bomb should have cleared out the enemies and opened the door in the
room below.
In this room, do a horizontal Shinespark to the right and you'll hit the little slope in front of the door and continue running at full speed, right through the doorway. As soon as you get into the next room, hit down to charge your Shinespark again. Shoot open the red door on the right and go through it. When you appear on the other side of this door, drop down onto the lower "step" and do a horizontal Shinespark to the right. There is a hidden slope at the base of the yellow tube; you'll hit this and continue running. Before you get to the other side of the tube, hit down to charge the Shinespark again, then shoot the enemies, open the door and go through it.
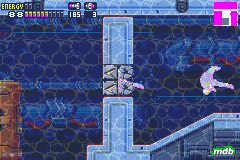
Now this is where it starts to get difficult. You need to make your way up this zig-zagging room, blasting enemies and doing horizontal Shinesparks into each slope you see. Each time you Shinespark into a slope, hit down immediately to store your charge again, or you'll hit the wall and you'll have to start over from the beginning. And don't forget that touching an enemy will cancel your charge too, so make sure to blast the enemies as quickly as you can as you move upwards.
 If you make it all the way to the top of this room with a charge ready,
shoot open the left door and do a horizontal Shinespark to hit the slope
below the door and run through it. As soon as you get to the other side,
press down to charge the Shinespark for the last time, shoot down the
enemies before they touch you, then do a spin jump to the left and shoot in
mid-air to break out of the spin jump. From that point in mid-air,
immediately Shinespark to the left. You'll break through that wall of Speed
Booster blocks.
If you make it all the way to the top of this room with a charge ready,
shoot open the left door and do a horizontal Shinespark to hit the slope
below the door and run through it. As soon as you get to the other side,
press down to charge the Shinespark for the last time, shoot down the
enemies before they touch you, then do a spin jump to the left and shoot in
mid-air to break out of the spin jump. From that point in mid-air,
immediately Shinespark to the left. You'll break through that wall of Speed
Booster blocks.
From here, it's a very simple matter of making it back up to the Navigation Room to view the event, thanks to the unlocked red door.
For a more visual explanation, here's a walkthrough map for the trick, contributed by Ridien. Thanks Rid!
The event displays a dialog between the shadowy Federation officer and Adam the computer:
;)
;) Adam:
Adam:Samus, I'm impressed that you were able to make it back. That trick with the Shinespark was very...ingenious. |
;)
;) Federation Man:
Federation Man:That's our Samus Aran! Magnificent! Truly Magnificent! As a reward, let's fill her in on our plan. Hmm, computer? |
;) Adam:
Adam:That is...not advisable. |
;) Federation Man:
Federation Man:Bah... |
;) Adam:
Adam:No more joking. Samus, get back on task. |
;) Is your objective clear?
Is your objective clear?Yes |
;) Adam:
Adam:I wonder how many players will see this message...? |
You'll still have to go back for the Diffusion upgrade to continue the game. It's not a useful trick, just an easter egg for those of us who are willing to push the envelope. Good luck!